
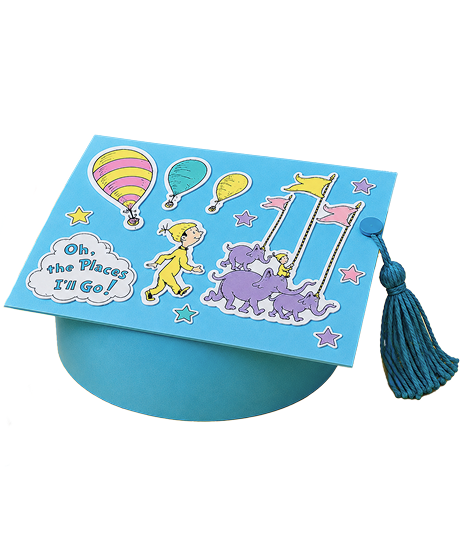
Make Your Own Graduation Cap!
CraftsActivitiesParentsEducators
It's time to celebrate YOU! With an adult's help, follow the instructions below to make and decorate your own graduation cap.
What You'll Need
- Two Sheets of Construction Paper
- Safety Scissors
- Tape or Glue
Directions
- Take one sheet of construction paper and, with an adult's help, cut it in half lengthwise. You now have two strips of paper that will help to make the base of your graduation cap (aka the part that will go around your head!).
- Glue or tape the two strips of paper together at the ends to form one long strip. Fold this new, extra-long strip of paper in half, lengthwise, to form a skinnier long strip. This will help to make the base of your cap extra strong.
- Next, take the strip and fit it around your head. Once you mark the right spot, glue or tape the ends together to form a circle. Now you have the base of your cap!
- Take the second sheet of paper and cut off a bit of one end along the short side so that the sheet of paper forms a square instead of a rectangle. This the top of your cap!
- Cut out the images below and tape or glue them to one side of the top of your cap. You can also draw and add your own decorations for a personal touch!
- Last, glue or tape the top of your cap to the base. Now your cap is finished!